This easy tutorial will show you the right way to quickly start a blog today, learn how to make money and get followers. I also show you what to avoid.

This easy, free guide gives you a step-by-step beginner’s guide walking you through creating your blog in just 15 minutes.
I have been blogging for 8 years. Very soon after I started blogging, I started getting over 100,000 visitors to my website, and within a year I was earning 6-figures from passive income from my blog.
I’m going to show you exactly how to get started creating your very own blog and help you achieve the same results that I got.
Free 3 Step Tutorial: How To Start A Blog And Make Money
Setting up a new blog for the first time can feel overwhelming. I totally understand, and that’s why I’m making this as easy as possible for you. I’m not going to give you a list of options and tell you to choose one of them. I’m going to show you exactly what I use and I recommend you use the same thing I do as I have already done the research to find the best way to set up a blog to get the best results.
I’m going to give you an analogy which will help you to understand your blogging setup and what is required to get started.
Your House
Your blog is like your house. This is the home, where your blog lives. You are reading my blog right now, which means you are inside my house. (Would you like a cup of tea?) Your blog lives on a blogging platform. This is where you write your blog posts, and the blogging platform displays your blog posts in a beautiful way to other people to make it easy for them to feel at home.
The blogging platform we are going to be using is called WordPress because it is free and it is the industry standard. It is also very easy to use.
WordPress is your house.
Your Address
Your domain name is like your house address. It is the address you give to people so they know how to find your home and visit you. My domain name is KathKyle.com. You pay a small amount of money per year to own your own domain name.
It is very important that you don’t change this or everybody will get lost trying to find your house at your old address.
There are many different providers of domain names, but we are going to keep things ultra-simple today, and choose are domain name at the same time as our hosting, which combines 2 of the 3 steps together. So what’s a host?
Your address is the link to your website.
Powering Your House
Even though you have bought a house (set up a blogging platform) and you’re registered to live at that address (domain name), you still need to turn on the power to your house. This is like setting up web hosting. We have to pay a host a small amount of money each month to turn the power on to our blog and connect it to the world wide web so people can find it.
The power to your website comes from your host.
Does that help you to understand the 3 components of getting a blog up and running?
Can I Set Up A Blog For Free?
It is possible to avoid paying for a domain name by using someone else’s business name for your address, and it is possible to avoid paying a host by using a platform that offers free hosting but I don’t recommend it, because you don’t own your own address (domain name), you don’t own your own house (blogging platform) and you don’t own your own power (hosting) which means the business is owned by someone else.
The problem with this is it is like working for a voluntary organization, you work hard for someone else (which is great as you are really helping people) but you never get paid as you’re not allowed to set up a business from their organization, and you aren’t allowed to advertise your own services either (can’t set up ads from a free blog). You can also lose your job at any time, and in the blogging world, that means you could have your blog taken away from you at any time, which means all your hard work is gone.
I don’t want you to lose your blog, and you won’t be able to make any money from your blog unless you pay for it, so that’s why I recommend you invest a small amount of money to start your blog.
It will cost you around $10 a year to renew your domain name and $3.95 per month to pay your host. (I recommend this host, but I will walk you through the exact steps in a minute.)
That’s the only costs involved. If you don’t have the money, I recommend you go and sell something in your house which is what I did to get started. I had no money and I managed to create a six-figure business by not paying for anything more than this to start with.
After I started earning money, I invested back in my blog and bought myself a nice theme and some stock photos, but that isn’t necessary when you are just starting your blog.
Now I’m going to walk you through these 3 simple steps to get your blog up and running.
1. Choose Your Domain Name
We are going to buy our domain name at the same time as we set up hosting in step 2 which makes things a lot quicker. So all we are going to do before we sign up for anything is to choose our domain name.
If you’ve already bought your domain name, you can skip straight to step 2.
This is an important decision because you will need to keep your domain name for the life of the business. Technically it is possible to change your domain name, but it can be risky as you might lose some of your traffic (visitors) and you don’t want to lose all the hard work you’ve built up, so I suggest taking this decision seriously.
Here are some tips I have for you when it comes to choosing a domain name:
- If you are the type of person to change your mind about what you blog about, you don’t think you’ll ever sell your business and you don’t mind being the face of your business, I recommend you choose your own name just like I have with my website, KathKyle.com. However, I do have other businesses that I chose different names for, so here are some more tips if you are going to do the same.
- Always use a .com at the end of your domain name as Google is more likely to send you traffic from the biggest English speaking countries in the world. The only time when you’d choose a local domain name such as .co.uk is if you have a local business in that country and you don’t ever plan to reach people internationally.
- Make your domain name somewhat related to your business, but then broaden it out a bit more. For example, if you intend to set up a business all about hamsters, and you don’t think you’ll ever blog about anything else apart from hamsters, I would suggest setting up a domain name one step broader than hamsters, such as madaboutpets.com or smallpetowner.com as you might find you run out of content fairly quickly about hamsters, and really want to also start writing about other pets.
- Don’t use hyphens in your domain name. For example, you should call your domain name smallpetowner.com and not small-pet-owner.com
- Try not to use generic, common phrases in your domain name, for example, zestforlife.com. You might think it sounds catchy, but so did a lot of other people, and no doubt that domain name is already taken. You can easily check to see if a domain name is taken, but even if it isn’t there is another problem. Someone might have already set up a company or a trademark with the name of that company, so you will have to check your country or state office to check nobody already has that name. If they do, they might come after you and ask you to change your domain name. This website makes it easy to check social networks, domain names and the US database to make sure your brand hasn’t already been taken. If it has, think of another name. By now you might be worrying that you might choose a name that’s already taken. So in the next step, I’m going to give you an easy way to avoid this.
- What I love to do is use 2 seemingly unrelated words, and put them together to form your business name. I did this with my popular blog called GreenThickies.com. Most people will have no idea what a Green Thickie is. A thickie is a thick homemade smoothie, and a green thickie is a thick homemade smoothie turned green with the use of spinach. When I explain it to people it helps it to stick in their heads and make it memorable. It is much more memorable than a business name like healthhomeharmony.com which to me seems very generic and easy to forget.
- Don’t start your domain name with ‘the’ because it is hard to remember, and you still might be infringing on trademark if the rest of your domain name belongs to someone else.
- Make sure your domain name is easy to spell. Try saying it out loud. You don’t want people to get confused and type in the wrong domain name as they misheard what you said on a podcast or video. Tell your domain name to a few people and ask them to spell it. If they get it right, you’re on to a winner.
- Don’t include numbers or symbols in your domain name. It can look cheap and it also causes confusion when you say it out loud as we don’t know if it is four, or 4.
- The shorter the better when it comes to domain names. GreenThickies is perfect as it is 2 words and easy to remember. Studies show that domain names under 14 characters get the most traffic.
- Add a keyword related to your niche if it makes sense but not if you feel like you’re going to change your mind. Although Green Thickies does describe smoothies, as new visitors don’t know what it means, it means I can blog about anything without people thinking I’ve gone off-topic.
- Use a domain name generator to get some good ideas for your business. I love LeanDomainSearch as it puts 2 random words together which is the type of business names I love the most. Check this out.

Hopefully, you’ve decided on your domain name now, so we can move on to the next step. If you have already bought your domain name, you can still follow the instructions below to set up your hosting and your blog.
2. Set Up Hosting
Now we’re going to sign up with a hosting service. The one I recommend is SiteGround for many reasons.
Firstly, with Siteground, you can combine all 3 steps into one. You can buy your domain name with them, set up hosting AND they will actually set up your blogging platform for you so you don’t have to do this yourself. They’ll even move existing sites over to their hosting if you already have hosting with someone else.
The reason I am recommending SiteGround as a website host is because I use them and love them myself. I have tried many, many different hosts and this is the first host that I’ve absolutely loved and have stayed with them for years now.
They get a 98% customer satisfaction rate and they are an award-winning company.
I find it SO easy to get help. You can either phone them, submit a ticket or start a chat, whatever works for you and they respond straight away.
When I start a support chat, they always resolve my problem straight away and are so happy to help. They don’t talk jargon to me like other hosts and always offer to do tasks for me, rather than telling me to go and do something technical like most hosts I’ve ever worked with. I really love them.
SiteGround has given me stable, reliable hosting and my website has never gone down for any longer than a few minutes at a time since I’ve been with them. With other hosts I have lost my entire website.
The best thing is you can get started for just $3.95 and when your website grows, they grow with you. If you start getting tens of thousands of visitors to your website, they will let you know it’s time to upgrade, but don’t worry because if you’re getting that much traffic, you’ll be making a lot of money.
I have upgraded and changed my plan and they always make it easy to work with your needs and price point.
Most blogging tutorials will tell you to sign up with BlueHost even though they don’t use it themselves. That is because Bluehost gives a great commission and it is cheap to get started. I myself took the recommendations of these bloggers 8 years ago and got started with Bluehost and I have to say I regretted it. My website was slow, the customer services were awful, and my site kept crashing when I had spikes in my traffic and nobody would help me. There wasn’t an option to grow with the service and I got fed up of the terrible support so I found a new host. I’ve tried so many different hosts and am thankful now to have settled with SiteGround.
Here are the steps for getting started with Siteground:
Go to SiteGround by clicking here.
Click the ‘Get Started’ button under ‘WordPress hosting’.
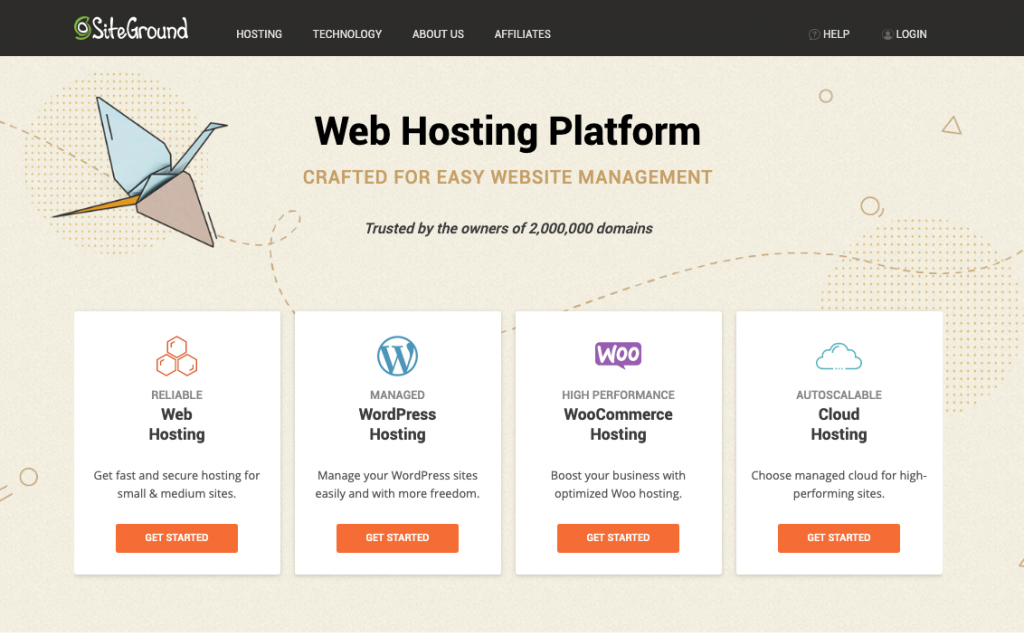
This page gives you the pricing options.

If you’re just getting started, choose ‘StartUp’. Click on Get Plan button.

If you are registering a new domain, select register a new domain.
Type your new domain name into the box. Make sure you choose .com from the dropdown box.
Click proceed. It will tell you if this domain name is not available. If it’s not available, type in something else.

Complete the form with your details.

You can choose the period of time you want to sign up for hosting. You can choose to sign up for a 1 month trial if you prefer or 12 months. For the best value for money, I recommend 12 months. Click on the Pay Now button when you’re finished. It’s up to you whether you add additional security with the site scanner. If you want to save money to start with, leave it unticked. You can always add it later when you put more work into your blog.

Your account has now been created. Click ‘Proceed to customer area’ button.

You might be prompted to sign into SiteGround at this point. Use your username and password that you just selected. Click Sign In.

Now it’s time for the third and final step which is to set up your blogging platform.
3. Set Up Your Blogging Platform
We are now going to set up WordPress automatically from the SiteGround dashboard. This is really easy. The great thing about SiteGround is that they will also install WordPress themselves if you ask them, so if you don’t want to continue, just contact SiteGround and ask them to help you install WordPress and also the free SSL certificate.
To contact SiteGround, click on the question mark at the top right-hand corner and choose ‘visit help center’ at the bottom.
Scroll down and choose ‘Technical assistance’ or another suitable option. Type in your question and it will bring up some articles that might help. At the bottom is an option to get assistance. Choose whether you want to use chat or phone.

If you ask for help setting up WordPress, you will still need to know how to use WordPress, so I will show you that in step 3a below.
If you are the kind of person who prefers to just get on with it and do it yourself, it’s really easy. I’ll walk you through the steps now.
Click on ‘Manage Site’. Or if you don’t see this screen, choose ‘Services’ from the top menu, Choose, Websites, Then Site Tools From the top.

You might also see this screen on the home page. Click on the orange button ‘set up site’.

This is what your SiteGround dashboard looks like.
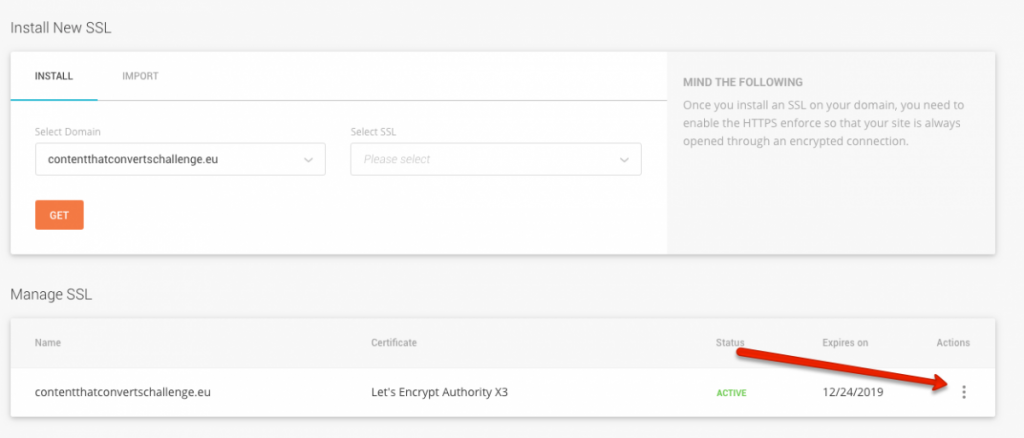
First of all, we are going to install a free SSL certificate which means your website will be secure and will protect visitors. This is essential otherwise Google will show a warning saying your website isn’t secure. This is free, so there’s no reason not to install the certificate. It takes 2 minutes to do.
click on ‘Security’ then ‘SSL Manager’.
Select ‘Let’s Encrypt’ from the dropdown list, then click ‘get’.

A box will appear asking you if you want to enforce https. Agree to this. If you miss the box, and it disappears, you can select it from the 3 dots at the bottom right of the screen.
Now we’re going to install your blogging platform.
To install the blogging platform, WordPress, click on ‘WordPress’ then ‘Install & Manage’.

Choose ‘Start A New Website’, then ‘WordPress’.

Now type in your own login details for your WordPress blog. Make your username hard to guess, type your email and select a difficult password to guess. You want to protect your blog.

You can choose whether to add the SC Site scanner. I didn’t add it. Click ‘finish’.
Click on ‘Go To Dashboard’.
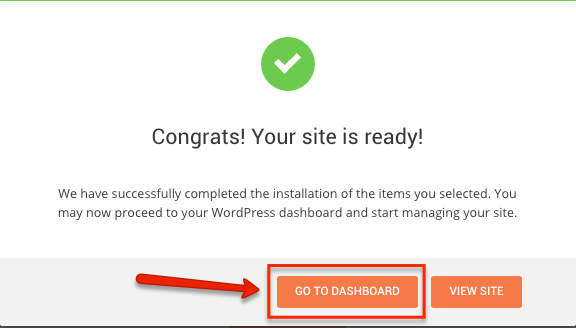
SiteGround now begins walking you through the process of setting up WordPress. Click ‘Start Now’.
You can choose a ‘theme’ for your website here. This is the look and feel of your website. You can change this later so don’t worry too much about which option you choose now. Select one of them. I left ‘Twenty 19’ selected.
Scroll to the bottom and click ‘Continue’.
Some plugins will be recommended to you to add tools to your website. It can be tempting to add as many plugins as you see but I want to advise you not to do this because every plugin slows down your website, and this will make readers give up trying to load your website, and it will discourage Google from showing your blog posts. I only recommend installing the Contact Form.
I will show you some more plugins I recommend later on.
Click ‘Continue’.
You are being asked to install more plugins again. I recommend Google Analytics so you can track the number of visitors to your website and other stats. I also recommend Yoast, ‘Optimize For SEO’ and I will explain what that’s useful for further down.
Click ‘Complete’.
Click on ‘Go To Dashboard’.
Now WordPress is all installed which is fantastic. I am now going to show you how to get started with WordPress, logging in and creating your first blog post.
You are now finished using SiteGround website.
Try opening a new browser and type in your domain name followed by /wp-admin
Like this:
contentthatconvertschallenge.com/wp-admin
This is how you log into WordPress. You will need this every day so make sure you keep a note of this and your login for SiteGround somewhere. I recommend you start using LastPass to automatically store all of your login information for websites.
3a Get Your Website Settings Correct
Before you start creating blog posts, there are just a few settings that you need to get right before you started.
Add And Delete Plugins
Plugins are a way of adding additional functionality to your blog. I will share the few plugins I recommend here.
Delete any plugins that are not in the list below by clicking on delete. You don’t want more plugins than you need.
Now you are going to activate Google Analytics and Yoast plugins.
Click on the Activate button under the plugin name. Watch the video and go through the wizard that will walk you through the Google Anaytics plugin.

Click on ‘Settings’ next to Yoast to set this up.

Click on the configuration wizard.

Choose option A so Google starts showing your website to other people. Don’t worry if it’s not ready, Google will keep helping people find your new content as you publish it. Nobody is going to start rushing to your site straight away so you have time to get it the way you want it.

Choose the most relevant site type. For most people, it will probably be a blog.
 Choose whether your website is named after you or your company name.
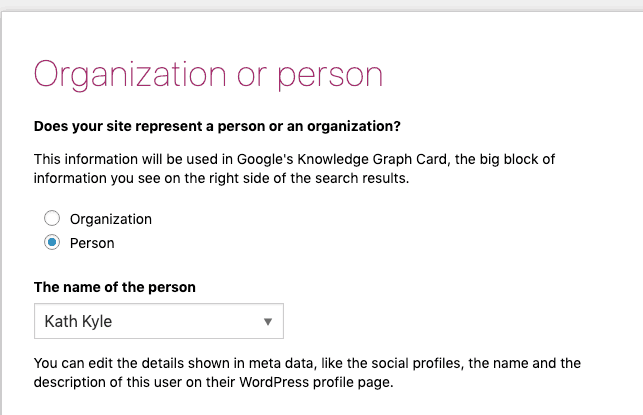
Select the following options. Don’t worry if you don’t see Thrive options. This is shown if you have Thrive plugin installed.

Will you have multiple authors or will you publish all the content under your name (even if you have a ghost writer)?

I like to leave the title settings as they are. I suggest you do the same.

Click next and skip the email subscription.
That is your blog all set up to receive traffic from Google.
Now it is your job to publish regular blog posts to start getting some traffic.
There is one more thing you need to do with the Yoast plugin when you publish your blog posts.
Under each blog post, scroll down to the box that says Yoast. All you need to do is type a description that is under 160 characters in this box. This is what Google will show in Google search to encourage people to click on your blog post, so make it enticing.
Despite what other people will tell you, it is not necessary for Yoast to give you the ‘green light’ before you get traffic from Google. Google will start sending you traffic to your new blog posts within about 6-8 months.
I am in the process of creating a course that shows you how to get on the first page of Google straight away and get lots of traffic every day to your blog.
Configure WordPress Settings
Now we’re going to make sure a few essential things are set up before you start blogging.
In your WordPress dashboard, click on Settings.
Make sure your Site Title is correct and add a Tagline. Make sure your email address is correct and click save.

Now click on Settings, Permalinks. This is the most important part of this whole tutorial so make sure you change this setting.
Click on Post Name. This makes sure your blog post URLs won’t automatically contain a date, which is not good for SEO and looks ugly. Post name will help Google display your content more easily.

That’s all the most important settings changed.
Congratulations. You are now ready to start blogging!
How To Create Your First Blog Post In WordPress
Click on, Posts, Add New.

Give your post a title. If you want to be found in Google, make sure it is something people are searching for.
To find out what people are searching for, go to Google and type in a keyword, for example ‘bread recipes’ and Google will autocomplete and add more keywords to your keyword.
Bread recipes is too broad for a title for a blog post so you want to use one of the suggestions Google has given you to narrow the subject of your blog post down.
If Google autocompletes and gives you suggestions, that means people are searching for these terms, so use one of them.
Here are some examples:
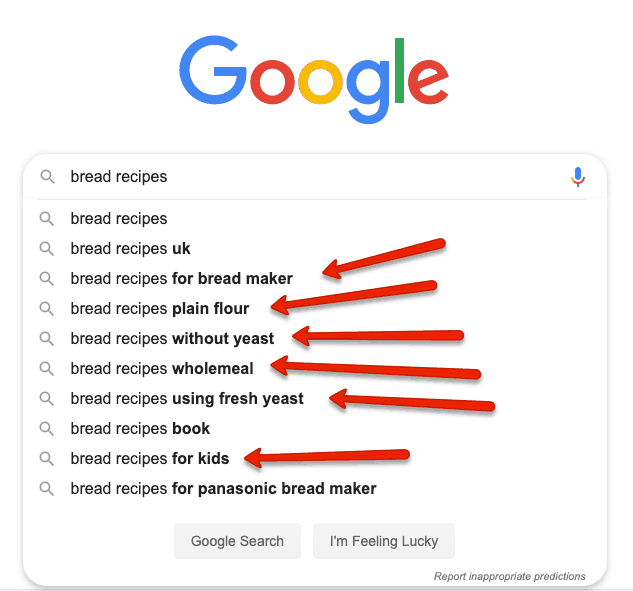
All of the suggestions I highlighted with arrows would make good suggestions for blog posts.
One thing to point out here is the use of the s at the end of words.
If you create a blog post called ‘bread recipe for bread makers’, that would give people the impression you are sharing one recipe.
However, if you use ‘bread recipes for bread makers’ that would give people the impression you are sharing a roundup of all of the bread recipes you have or links to other people’s recipes on the web. Don’t copy and paste other people’s content but you can mention the name of their blog post and link to their blog post.
Both of these types of blog posts are very helpful and I suggest you incorporate both styles of blog post in your blog.
To make the name of this post even more enticing, I suggest you add a power word to the title, such as ‘Mouth-Watering’.
Now you have your full title, type it in the title field in WordPress

Now write your introduction in the white box underneath.

I now suggest you add an image. You can upload your own photos or you can find free images on Unsplash.
Click on Add Media.

Click on ‘Upload Files’ Click on ‘Select Files’ choose your photo from your drive and click insert into post.

Now you have a lovely photo in your blog post.
Click ‘Save Draft’ to save your work as you go along.
Write the rest of your blog post underneath.
When you are finished, click ‘Publish’.

Your blog post is now ready to be found by Google and ready for you to share it on social media.
How To Make Money From Your Blog
Now you just need to keep creating blog posts on a regular basis, and soon you’ll see the number of visitors to your site increase.
When you get more visitors to your blog, you can start to sell them your product.
Just write a short sentence (call to action) at the end of your blog posts encouraging people to take the next action, which could be to buy your product, or get on your email list.
This is the easy way to make money from your blog. It doesn’t need to get any more complicated than this.
Just keep focused on blogging as this is what will keep increasing the number of visitors to your site who will then buy your offer.
Next Steps
Now that you’ve got everything you need to start your blog, you might be wondering what tools you need to use to run a successful blog?
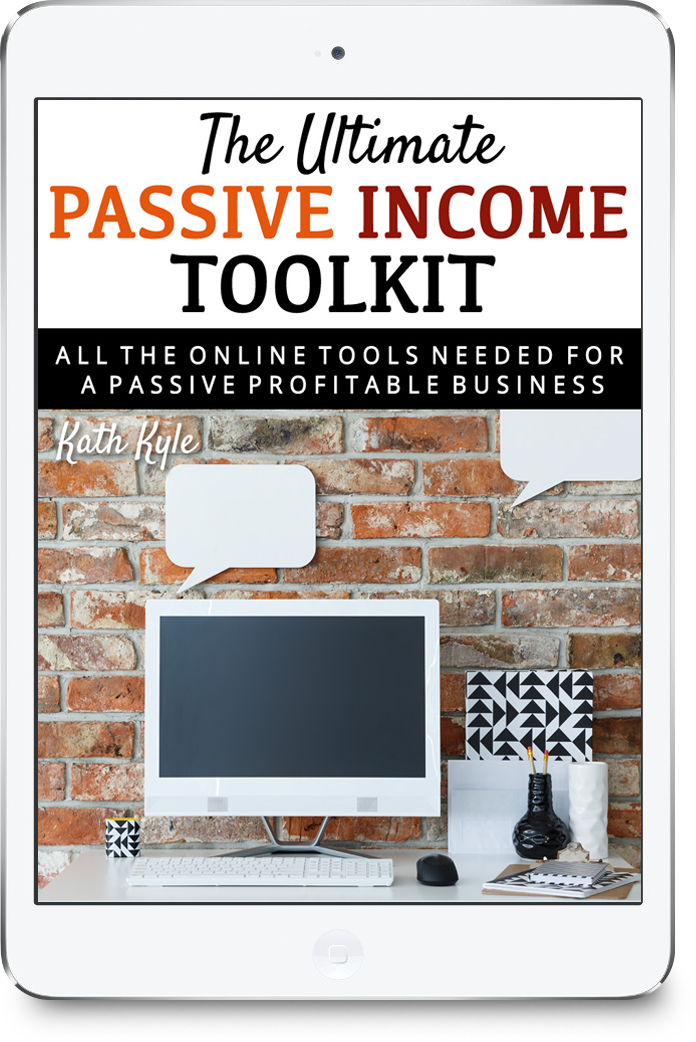
I have a free gift for you that will give you all the tools that I used to create a six-figure passive income blog.
Click here to get your free passive income toolkit.
Related Resources You Will Love
Pin this for later by clicking here.

TAKE YOUR MANIFESTATION TO THE NEXT LEVEL
Products
✔️ MANIFEST YOUR PERFECT DAY COURSE: Manifest the life of your dreams and live your perfect day every single day. Click here for access.

✔️ BUSINESS MANIFESTATION CLUB: Manifest a MASSIVE, engaged, and positive FOLLOWING, and MANIFEST the MONEY you desire using never-seen-before manifestation techniques that will transform your results in both your work and your life as a whole. Get a FREE 7 day trial

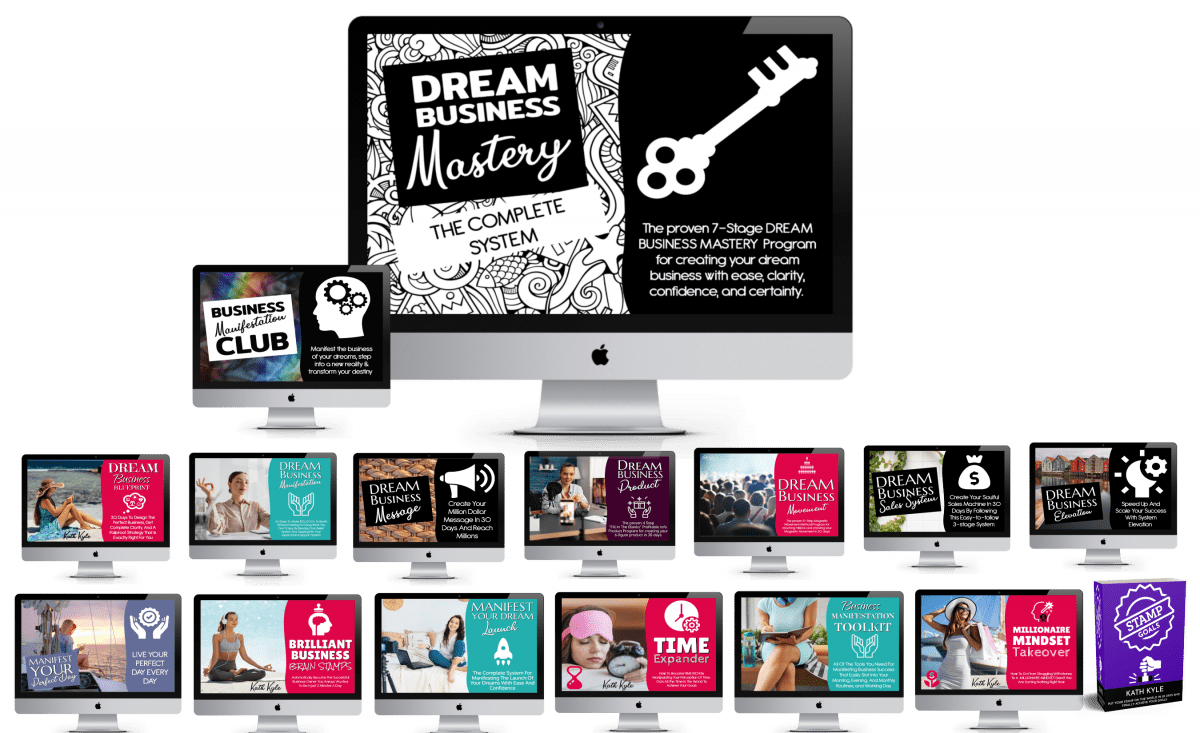
✔️ DREAM BUSINESS MASTERY: Get access to ALL of my current and future products. This is my entire system to take you from your current reality to business mastery. Learn more by clicking here
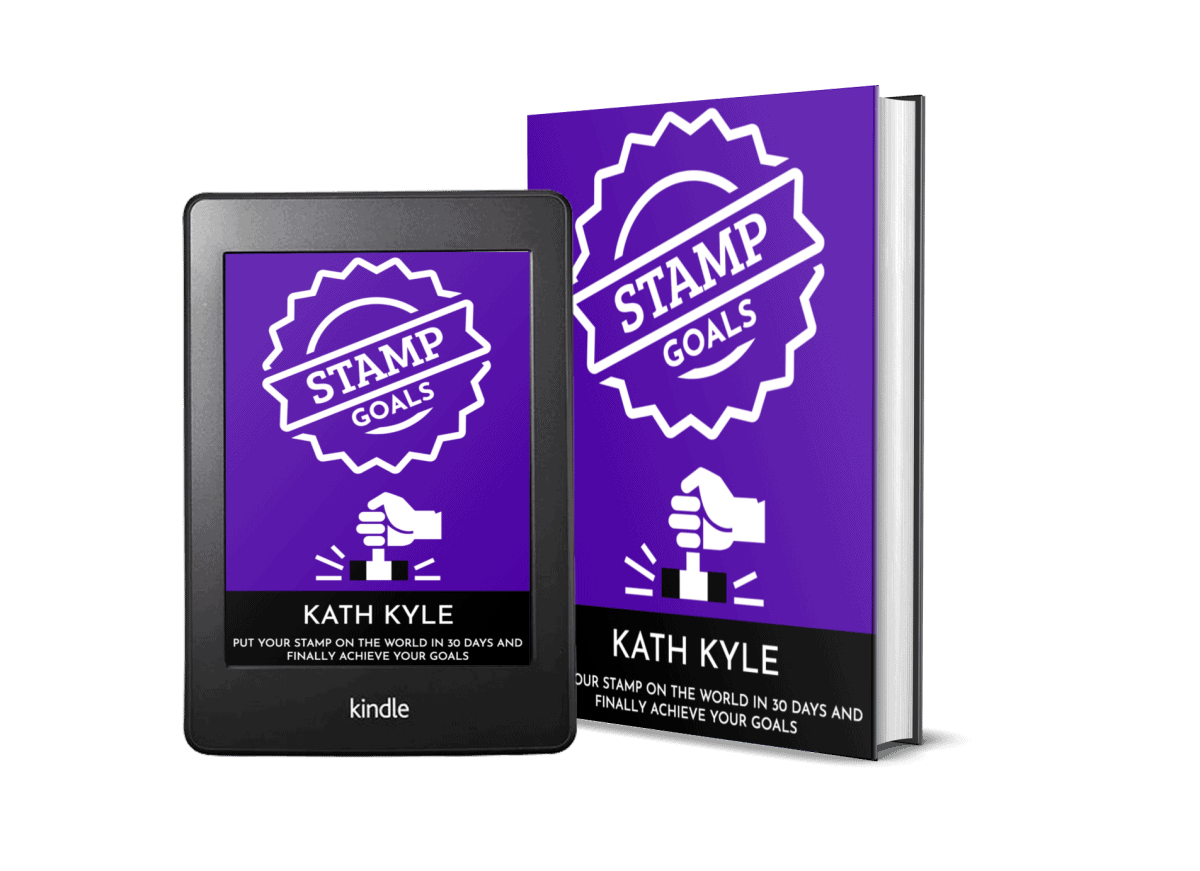
✔️ STAMP GOALS BOOK: Put Your STAMP On The World In 30 Days And Finally Achieve Your Goals. Grab your copy by clicking here
✔️ ALL PRODUCTS: See all of my products and courses by clicking here.
Free Gifts
✔️ MANIFESTING WITH REVERSE MEMORIES GUIDE: Creating Reverse Memories Is The Best Way To Guarantee Your Desires Will Manifest In Reality. Click here for FREE access.

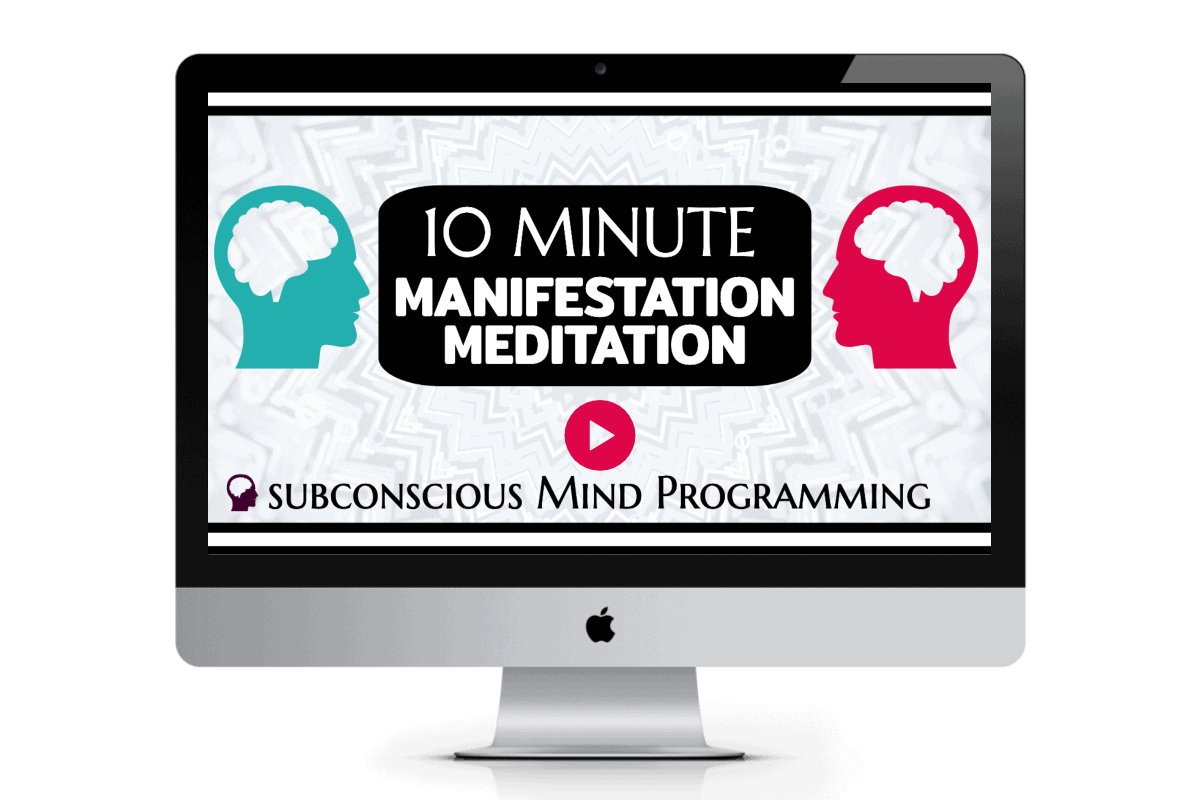
✔️ 10 MINUTE MANIFESTATION MEDITATION: This powerful 10 minute manifestation meditation will reprogram your subconscious mind and is guaranteed to bring your manifestation into your physical reality. Click here for FREE access.
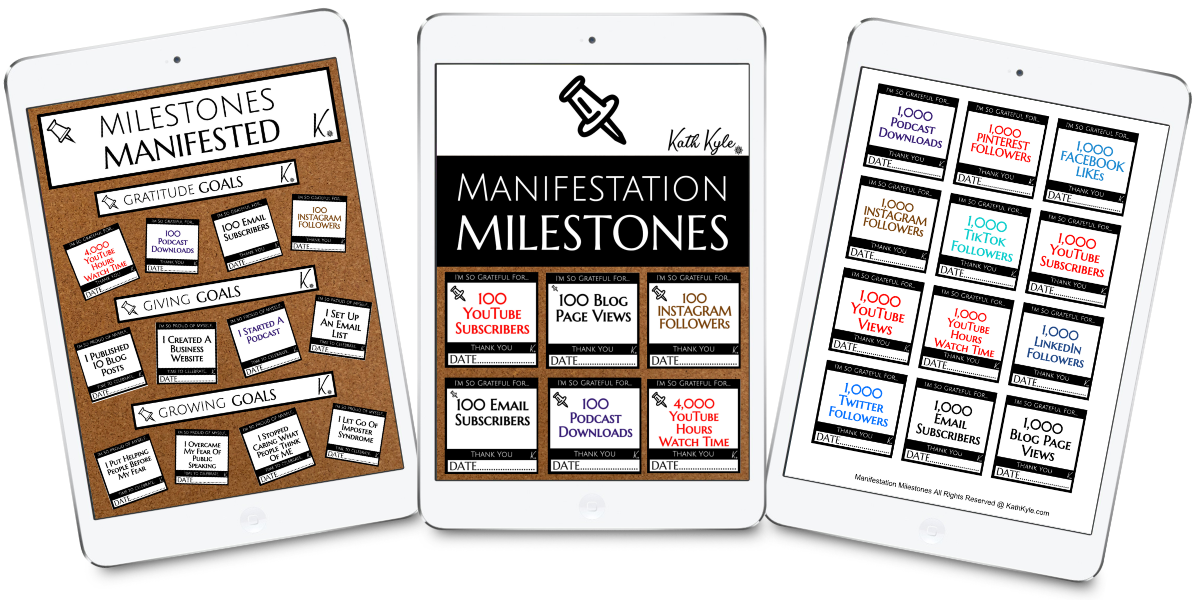
✔️ MANIFESTATION MILESTONES BOARD PACK: MANIFEST FAME, FORTUNE, and FOLLOWERS by creating a vision board and achievement board to manifest business milestones. Click here for FREE access.
- How To Pray 🙏 - October 25, 2022
- NO COMPLAINING Challenge 👏 - October 24, 2022
- I Read 500 Books 📚 To Learn These 3 LIFE LESSONS… - October 13, 2022



Leave a Reply